

(In my last blog post, I talked about painting my garage doors and wood timbers.)
There are two kinds of people in this world. People who paint brick and people who don’t. I just got out of a mixed marriage, actually. I, as you might have guessed, am the former. And now that this house is mine alone, I painted the brick half of the house just like I always wanted to.

Now, that in itself is a fine blogpost: Paint Your Brick House!
But I decided that I wouldn’t like the effect if I just painted the brick, and here’s why: the surface is high relief with deep spaces in between the brick. I thought that if I just painted the brick as is, the light and shadows would make a really busy . . . pattern. I was thinking more like an Irish cottage: a soft-with-age texture of whitewashed stonework. So to get this look . . .
I mudded the brick with mortar. It was like mudding a hut.
And it worked.
It involved a big mess, hours of labor, and me looking like a witch.
But it worked.
Here’s what I did, and what I learned:
I wore rubber-cotton cleaning gloves and slathered on a skim coat of mortar over the whole wall, pressing the mortar into every space completely. I’ve never smeared elephant dung on a hut, but I bet it was about the same. I tried a lot of application tools – different trowels, even a heavy-duty pastry bag – but in the end this was the quickest method with the most control.
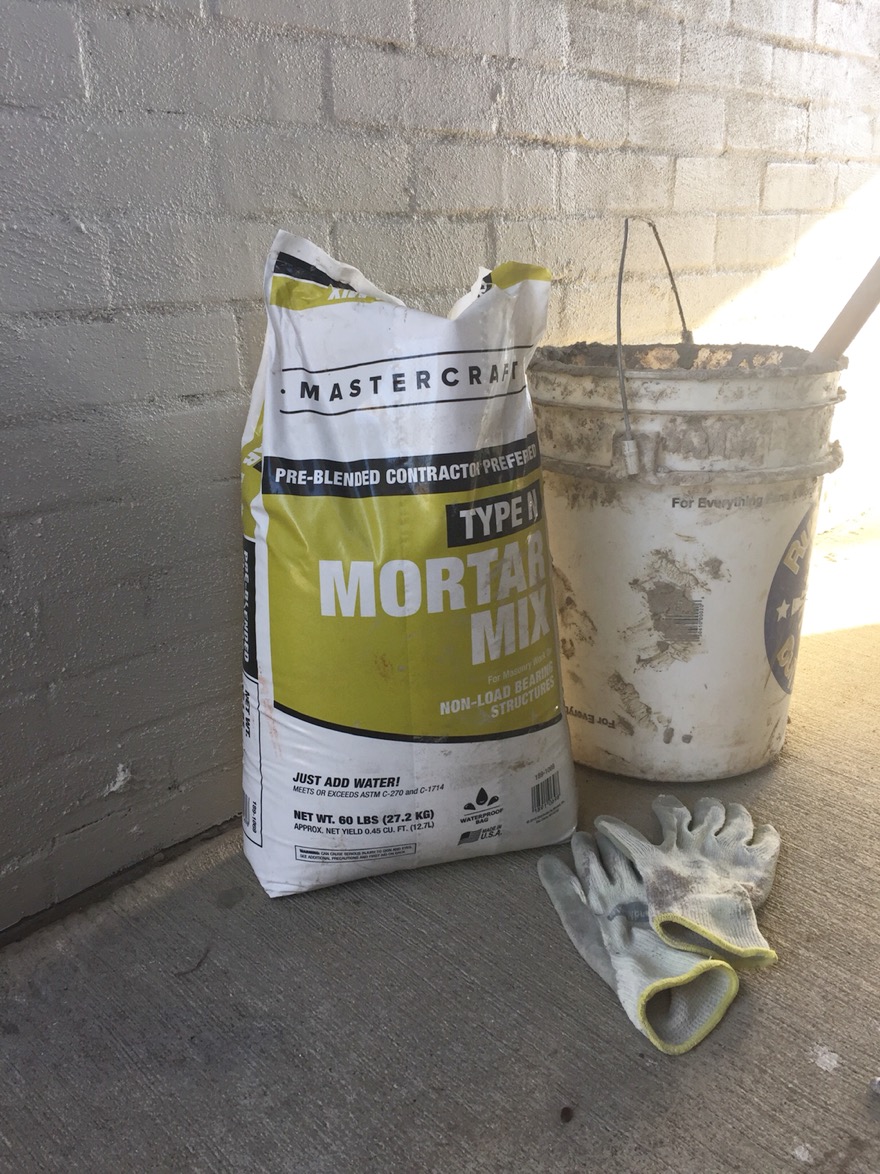

I used Type N* mortar from the hardware store. I started by using any ‘ol stuff, but when I my son picked up some more for me, I definitely liked his mortar better. The better mortar (Mastercraft brand, pictured, available at Menards) was “creamier” and had a silkier texture, while the suckier mortar was gritty and rough. This translated to the finished texture, for sure. The better mortar dried with a smooth hand, and the suckier mortar . . . well I don’t want to touch it.

These bags are heavy. I’m a girl who thinks she can do anything, but lugging these bags around wasn’t easy. I definitely was spotted moving mortar bags by skateboard.
And this project is messy. I mean it.
Materials and supplies:
Mortar: 4 x $6 = $24**
Gloves: $3
Five-gallon plastic bucket
Wooden stick or paddle – I used an 18” long 1” dowel piece
Water (and crappy 1 gallon plastic pitcher)
Celluloid sponges
Tarp to catch falling mortar
House paint: $50***
I mixed the mortar in batches – the consistency was like mud for a mud pie – applied it to the wall, and smoothed out the wet mortar with a very wet sponge. Working about 20 square feet at a time, this project was time consuming. It would have been easier to just knock this baby out, but I have a 9 to 5 job now, so my free time starts at 5. When it’s already dark out. And I haven’t eaten since noon. So I worked a little bit every day, mixing a vat of mortar with a stick, by the light of the carport.
I looked like the neighborhood witch that kids talk about.


When it was finished, I let the mortar cure bone dry. Two weeks. I wanted all the moisture out before priming and painting.
For satin paint I chose a color that perfectly matched my siding. As I mentioned in my previous post, I stick to a pared-down palette when unifying different elements. And the light color makes my house look bigger, which I think is cool. Stone and brick suck up paint, so calculate on the high end if you every paint brick. Two gallons gave me leftovers for 300 sq. ft. of wall.
The finished wall makes me happy. I love how it looks, I love how it brightens up this dim space, and I love how it modernizes my old farmhouse just enough. So worth the trouble.


* Type N is a lower-key type of mortar for setting bricks. Unlike its heavy duty cousins, Type N mortar is not made for projects that must face underground water like sewers or basement walls. I think I’ve got that right.
** Four bags of mortar covered about 300 sq. ft.
*** My house’s color palette?
“Southern Grove” by Magnolia on the house
“Black Satin” by Benjamin Moore for garage doors and ceiling
stock Semi-gloss White for trim
“1905 Green” by Magnolia as a good Euro green on the doors
